Saturday 21 January 2017

Butter Cookies with Almond


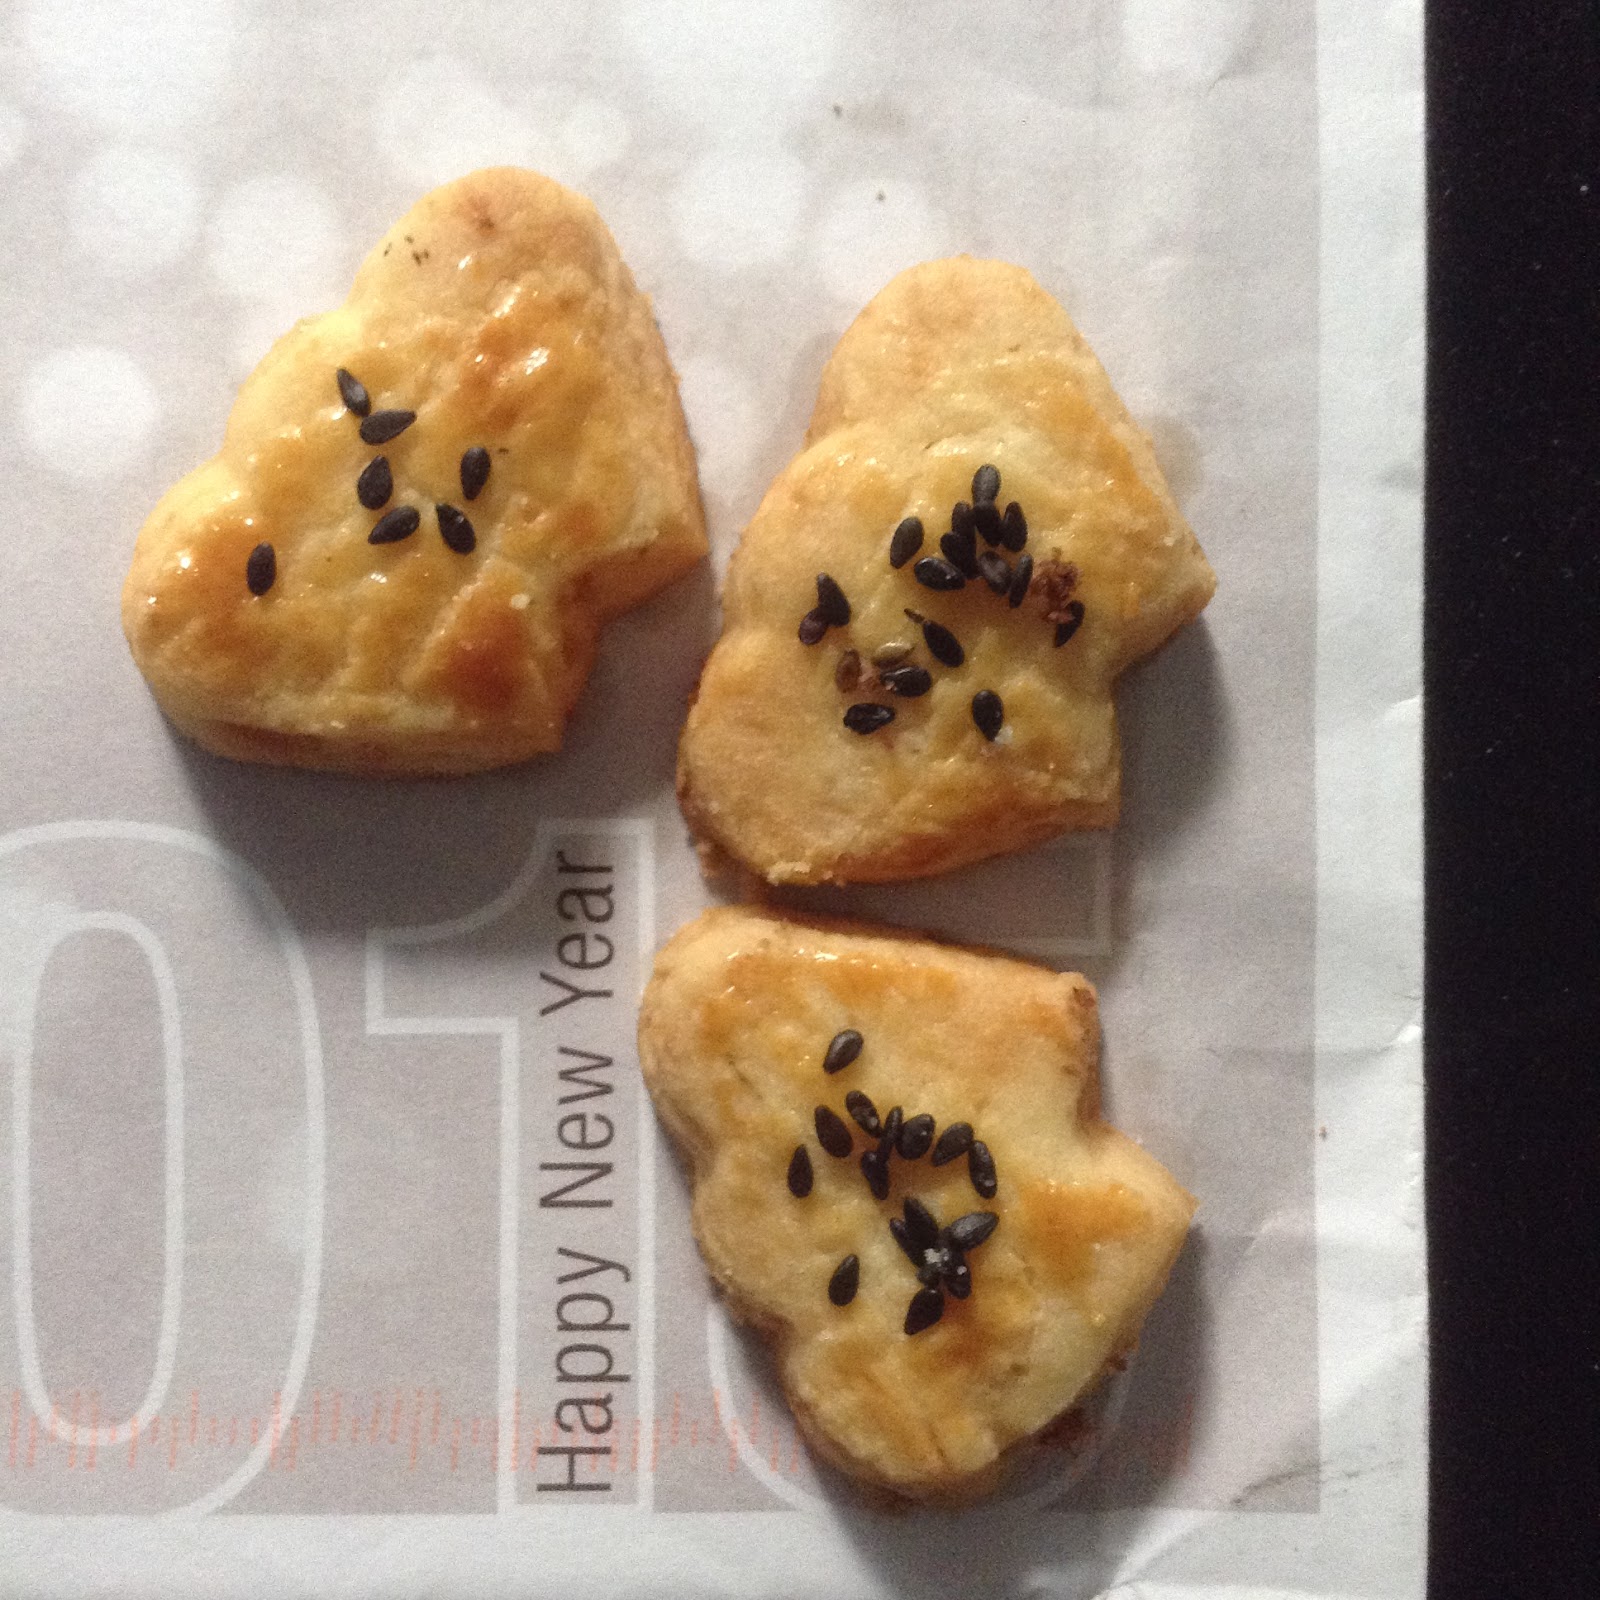
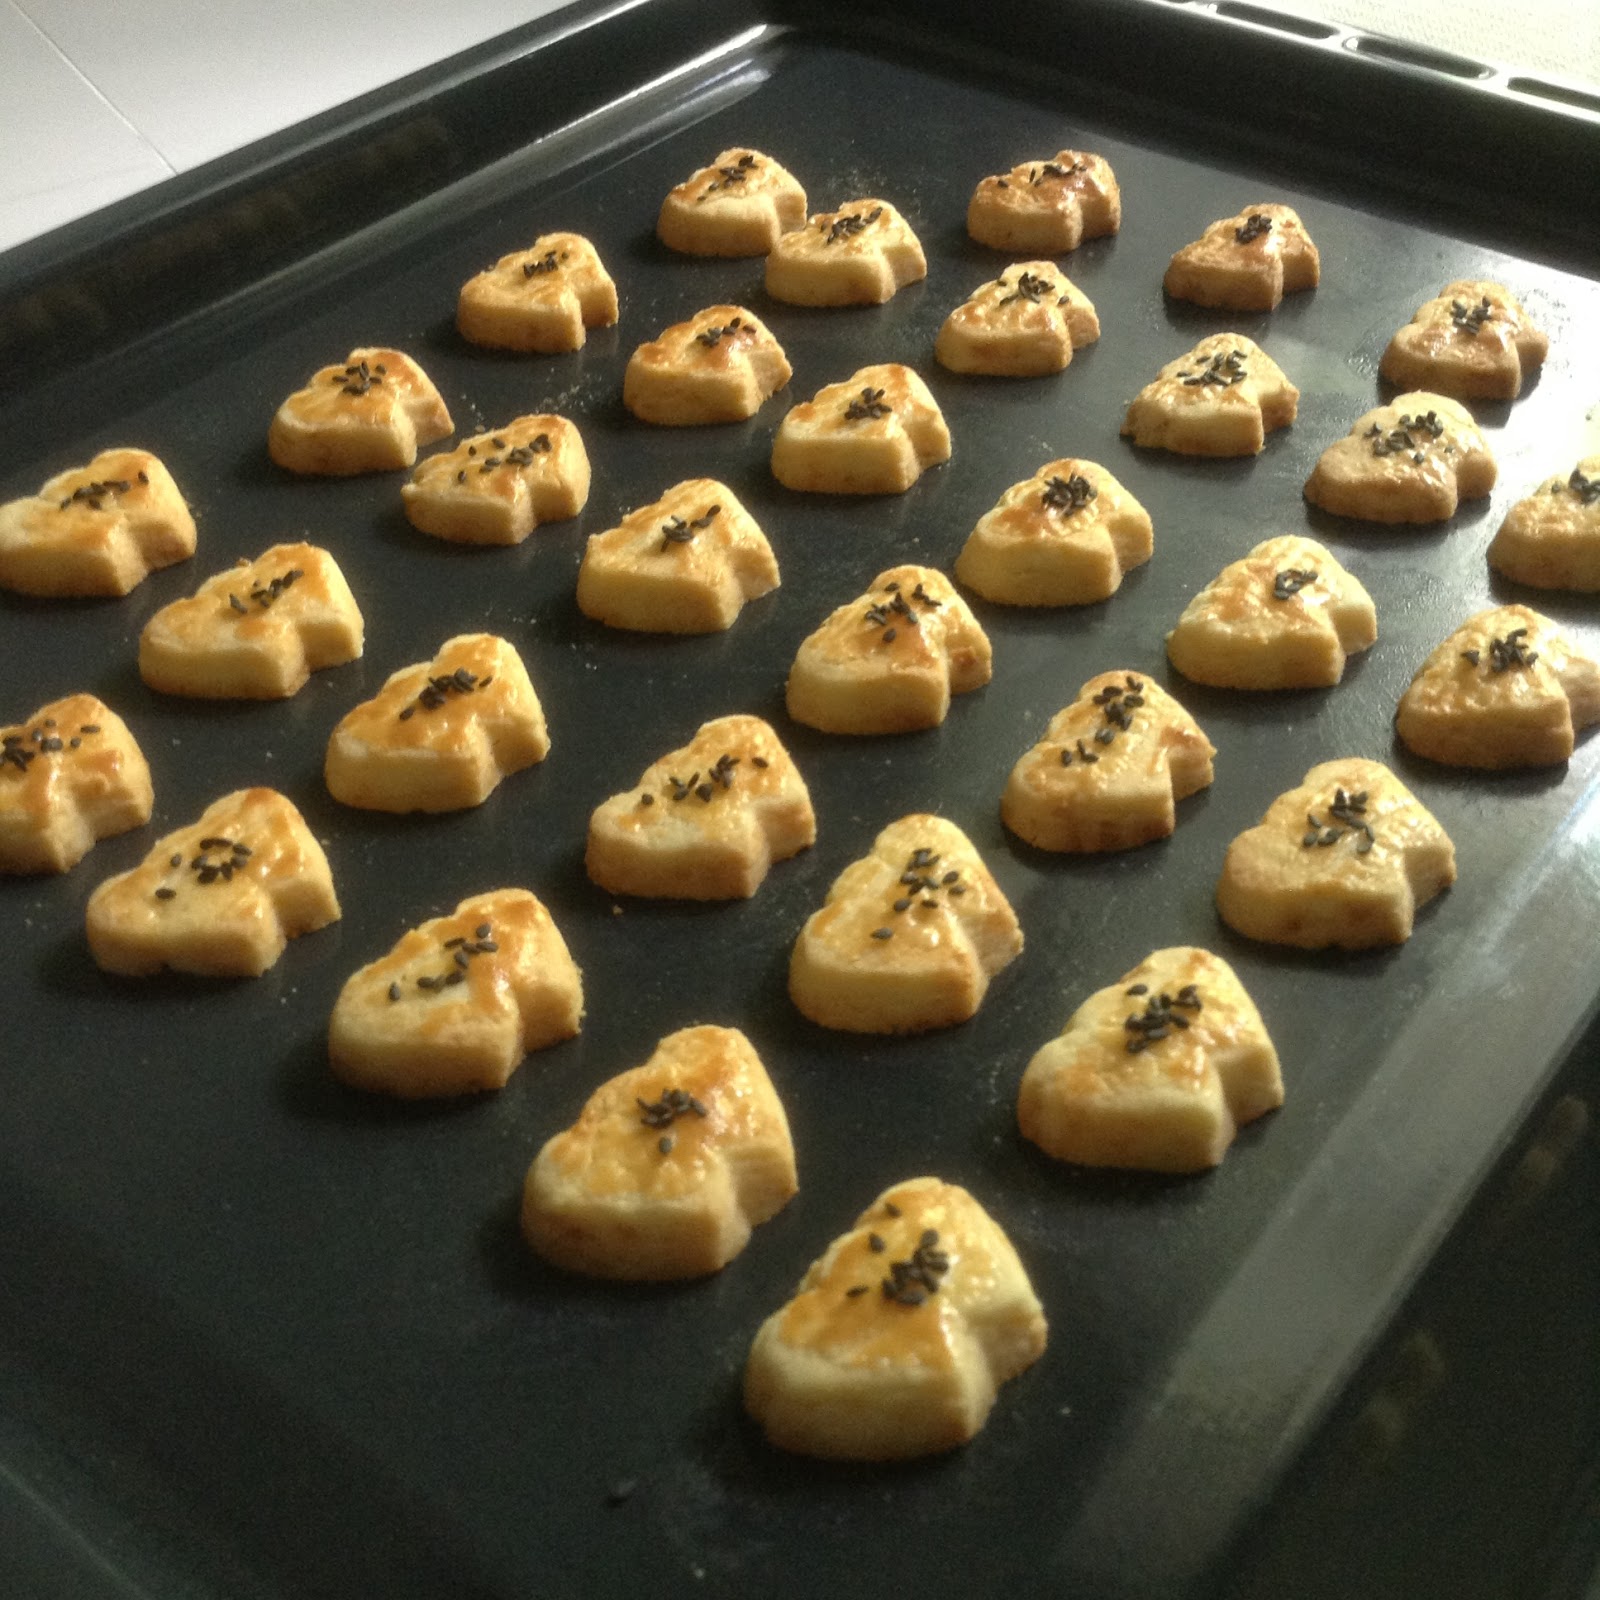
When I saw Nasi Lemak Lover - Nut Hugging Bear Cookies, I knew I have to make this. The look so adorable. Now I just need to find a bear shape cookie cutter. When I found the cookie cutters, it was in a set of 3 different sizes of the same bear shape. I didn't buy it as I don't think I'll use all the 3 cookie cutters. Then I found a cute bear cookie cutter at Daiso, it's a little small, but I think it should do the job just fine. And the cookies turned out really cute, just a little fragile, especially the hands. Maybe I need to make the base thicker or the hands thicker next round.

Ingredients:
  • 90g salted butter, room temperature.
  • 40g icing sugar, sifted
  • 15g egg yolk 
  • 165g cake flour
  • Whole almonds, pre-baked at 180 degrees C for 3 to 5 minutes
Methods:
  1. Cream butter and icing sugar till light and pale.
  2. Add in egg yolk and beat well to combine.
  3. Add in cake flour, mix well until a soft dough is formed.
  4. Roll the dough out to a thickness of about 3mm.
  5. Use a bear cookie cutter to cut the dough.
  6. Place the almond slanting at one side at the centre of the cut dough. 
  7. Roll two small pieces of dough for about 1 cm long for the hands.  
  8. Place the 2 hands to hug the almond.
  9. Bake in at pre-heated oven at 150 degree C (fan forced) for 12 to 15 minutes. 
  10. Remove out from oven and let it completely cool. 


Thursday 30 June 2016

Hokkien Dumplings


I have been making this for the past few years. Every year, there are a different set of learning opportunities (or in another words....problems due to not enough dumplings making skills....lol). The first time I made it, it took me 15 minutes to wrap just one dumplings, then another 5 minutes trying to tie the dumpling. After that I would lose 1 or 2 dumplings while boiling them because they are not properly tied up, so the fillings disintegrate in the water. Even after I got everything boiled, cooked and intact, the dumplings tasted a bit bland because the flavours have all gone to the boiling water. Sigh...this is so difficult (teaching myself...haha...). But I did not give up. Despite all these disappointments, I never fail to make them during each Dragon Boat Festival. And there are improvements each year. ^_^ So, it isn't so bad after all.


Finally this year, I guess I have sorta "got it". I managed to finish wrapping 15 dumplings in about an hour and I did not lose any dumplings while boiling them. Just need to put more salt into the boiling water in the next dumpling-making sessions so the dumplings won't taste too bland when cooked.

This recipe makes about 15 dumplings.

Ingredients:
  • 15 roasted chestnuts
  • 8 salted egg yolks (divide into 15 portions)
  • Mushrooms (soaked and prepare 15 portions)
  • 1 garlic bulb
  • 120g dried black eyed peas
  • 20g dried shrimps
  • 60g peeled shallot
  • 400g glutinous rice
  • 3 tbsp vegetable oil
1 day before the dumplings wrapping day:
  • Soak black eyed peas, mushroom and glutinous rice.

Method:
  1. Wash the dried shrimps quickly, do not soak.
  2. Heat vegetable oil in a pan.
  3. Saute shallots until almost golden, then add in dried shrimps and continue to saute the shallots and dried shrimps until very fragrant.
  4. Put in black eyed peas and stir fry for a while.
  5. Put in enough water to cover the peas, then put in 1/2 tbsp sugar, 1/2 tsp salt and 1 tbsp light soy sauce.
  6. Cover and simmer until 90% dry and peas are soft.
  7. Mix the peas and the rice in the same bowl.
  8. Get all your ingredients lined up.
  9. Overlap 2 bamboo leaves and make a cone. Put in some rice at the bottom of the cone, followed by salted egg yolk, chestnut and mushroom. Cover with more rice and wrap up the dumpling.
  10. Once all dumplings are wrapped, boil enough water to cover all the dumplings and season the water with enough salt.
  11. Once the water boils, put in all the dumplings and let it boil for 1 1/2 to 2 hours (if you prefer the rice texture to be softer).

Add in your favourite ingredients

Cover with more rice

And it's done

Ready for the tummy


Sunday 10 April 2016

Salted Egg Yolks Cookies


Oh this is very addictive. There is not much of salted egg yolk taste. There is more of buttery taste with a hint of salted egg yolk smell. 

This recipe is adapted from Bake for Happy Kids - Melt in your mouth Salted Egg Yolk Cookies. It doesn't yield that many pieces with my chosen cookie cutter, so I suppose I'll double the recipe the next round.   

Ingredients:

  • 85g salted butter, softened at room temperature 
  • 40g caster sugar
  • 2 salted egg yolks
  • 125g all purpose flour
  • 10g corn flour
  • 1/8 tsp baking powder
  • 1 egg yolk, lightly beaten to glaze
  • black sesame seeds to sprinkle

Methods:

  1. Steam the salted egg yolks for 10 minutes. Mash the salted egg yolks and set aside to cool.
  2. Cream butter and sugar until light and fluffy. 
  3. Combine flour, corn flour and baking powder and sift the flour mixture into the butter mixture.
  4. Stir until well combined. 
  5. Stir in the mashed salted egg yolks and gently knead to form a soft pliable dough. 
  6. Roll the dough into 3 mm thickness and wrap dough in a cling film and allow it to rest in the fridge for at least 30 minutes. (I left it overnight.)
  7. When ready to bake, take the dough from the fridge and cut them with a cookie cutter.
  8. Brush the cookies with egg yolk and sprinkle sesame seeds on them and bake in a preheated oven at 170°C for 15 minutes or until golden brown. 
  9. Allow the cookies to cool on the baking trays before storing them in an airtight container.

Cutting the dough into some shapes...

Ready for baking...

Done...!

This post is linked at Cook and Celebrate: Chinese New Year 2016 hosted by Yen from GoodyFoodies, Diana from The Domestic Goddess Wannabe and Zoe from Bake for Happy Kids at here.


cook and celebrate cny2016

Sunday 21 February 2016

Peanut Cookies

Happy Chap Goh Mei!!! Wishing you a prosperous year ahead!

Time flies. Today is the last day of Chinese New Year. I always wish the celebration can last longer.

Now back to this cookies post, these cookies are one of the traditional favourites for Chinese New Year. Making the cookies is easy, it's shaping the cookies that is taking a bit of time. But when you see your loved ones enjoying the cookies that you have spent the time on making them, it's all worth it! ^_^

This recipe is adapted from Yens Gourmet - Peanut Cookies.

Ingredients:

  • 100g plain flour
  • 50g icing sugar
  • 100g ground peanut
  • 50g peanut oil
  • 10g salted butter (room temperature)
  • Egg wash (whole egg)
Method:
  1. Sift flour into a bowl. Add icing sugar and mix till combined.
  2. Add in ground peanut, mix until well combined.
  3. Make a well in the centre and add in peanut oil.
  4. Knead gently to form a dough.
  5. Use 1/2 tbsp measurement spoon and scoop the dough out and shape into a ball with hands. If the dough is too crumbly, add a little more oil until the crumbs stick together.
  6. Use a pen cover and gently press at the centre of the cookie.
  7. Brush the cookies with the egg wash.
  8. Bake the cookies in a pre-heated oven at 160 degree C for 17 minutes or till golden brown.

Before...

After...


This post is linked at Cook and Celebrate: Chinese New Year 2016 hosted by Yen from GoodyFoodies, Diana from The Domestic Goddess Wannabe and Zoe from Bake for Happy Kids at here.

cook and celebrate cny2016

Wednesday 17 February 2016

Viennese Cookies


The recipe for Viennese cookies is just like any other butter cookies. The difference that sets it apart from the normal butter cookies is probably the addition of some jam and/or chocolate coating. I especially dislike melting chocolate for decoration purpose as there will usually be leftover and it will be eventually thrown away and I hate wasting food stuff...lol... As with this recipe, I refrigerate the chocolate leftover and it is now still sitting in my fridge. 


For the recipe below, from Bake For Happy Kids - Melt in your mouth Viennese Biscuits, it yields about 30 wavy fingers. If piping flowers, the recipe can probably yield a little more. 

Ingredients:
  • 125g salted butter, very softened (I left it at room temperature until I can easily stir it.)
  • 25g icing sugar
  • 1/8 tsp baking powder
  • 125g all purpose flour
  • 1/2 tsp vanilla extract
  • About 50g dark compound chocolate (quite stable for room temperature, not becoming hard too quickly)
Methods:
  1. Whisk butter and sugar until well combined. Then, whisk in the vanilla.
  2. In another bowl, mix flour and baking powder. Sift the flour mixture into the butter mixture and stir until a dough is formed.
  3. Spoon dough into a piping bag with a star nozzle.
  4. Pipe wavy fingers onto the baking pan (I don't usually line with baking paper as my pan is kind of the non-stick type). Ensure there is some space between the wavy fingers as they will expand.
  5. Bake at preheated oven at 150ºC fan forced for 13 to 15 minutes until pale golden brown. I prefer fan forced so the browning will be more uniformed. 
  6. Allow the biscuits to cool completely.
  7. Once cooled, double boil the chocolate to melt it. Let it cool slightly.
  8. Line a tray with baking paper. 
  9. Dip one side of the cookie into the melted chocolate and place them onto the baking papers. Wait until the chocolate is set on the cookies. Store the cookies in an airtight container.

Before baking...lucky I allocate a lot of space between them...

After baking...they really know how to expand don't they...

This post is linked at Cook and Celebrate: Chinese New Year 2016 hosted by Yen from GoodyFoodies, Diana from The Domestic Goddess Wannabe and Zoe from Bake for Happy Kids at here.


cook and celebrate cny2016

Tuesday 16 February 2016

Salted Egg Yolks Prawn


Warning: This is not a dish that should be eaten frequently (think fat, calories and cholesterol)...lol...but it will be a good addition to the dining table during festival or special celebrations. It is easy to cook too. The butter and salted egg yolks combination seems to be very matching. ^_^


Ingredients:

  • 12 large prawns, cleaned and deveined with shells intact
  • 5 salted egg yolks
  • 4 stalks curry leaves, stem removed
  • 2 cloves garlic, minced
  • 20g butter
  • 1 tablespoon vegetable oil 
  • salt, to taste
  • 1 egg, lightly beaten
  • 6 tablespoons corn flour


Methods:

  1. Add salt to the prawn and season the prawns for at least 15 minutes.
  2. Steam the salted egg yolks for about 10 minutes. Mash the salted egg yolks with a fork and set aside.
  3. Dip the prawns in the beaten egg yolk then lightly coat them in corn flour.
  4. Fry the prawns in batches (depends how big is the wok or pan used) until they change to pinkish red. Set aside. 
  5. Discard the oil from frying the prawns
  6. Using the same pan, heat 1 tbsp vegetable oil and melt the butter. 
  7. Saute the garlic until fragrant.
  8. Add curry leaves and cook for another 30 seconds.
  9. Add the mashed salted egg yolk and cook over medium heat. 
  10. Stir constantly until the sauce bubbles up. 
  11. Add the prawns to the sauce. Toss the prawns with the sauce. 
  12. Season with 1 or 2 pinches of salt. Toss the prawns in the sauce until well-coated.


This post is linked at Cook and Celebrate: Chinese New Year 2016 hosted by Yen from GoodyFoodies, Diana from The Domestic Goddess Wannabe and Zoe from Bake for Happy Kids at here.

cook and celebrate cny2016

Saturday 13 February 2016

Braised Abalone and Mushrooms


This looks like a simple dish but the preparation work took a few hours as in any traditional Chinese cuisine. But this tasted really good. The abalones are soft and the sauce is not too salty or too sweet. So it's all worth the effort.

Ingredients:

  • 1 can abalone (medium ones - should contain about 8 to 10 abalones)
  • 10 dried mushrooms (soaked)
  • 1 medium broccoli (cut and blanched)
  • 8 dried scallops (soaked)
  • 4 cloves garlic, peeled and smashed
  • 2 slices ginger
  • 1 tbsp oyster sauce
  • 400 ml chicken stock/reserved water from soaking mushroom/water

Sauce:

  • 1/2 tbsp oyster sauce
  • 1 tbsp Shao Xing wine
  • 1/2 tbsp light soy sauce
  • 1/8 tsp dark soy sauce
  • 250 ml chicken stock/water
  • 1/2 tbsp corn starch


Methods:
  1. Remove the label from the abalone can, cook the unopened can of abalone in a pot of hot water for 2 to 3 hours. Remove the can from hot water and set aside to cool.
  2. Steam the soaked scallop with the water for about 10 minutes in medium low heat.
  3. Heat 1 tbsp of oil in a pan, add garlic and ginger and saute until fragrant. Add mushroom and stir fry for a while. Add 1 tbsp oyster sauce and 400 ml chicken stock. Bring to a boil and then braise for 30 minutes in medium low heat or until the mushrooms are soft.
  4. Heat the sauce ingredients until boiling. Add in abalone and simmer for 1 minute in medium low heat. Gently add in the scallops to absorb the sauce. Do not stir so the scallops are still whole and not broken.
  5. Arrange broccoli, braised mushrooms, scallops with abalones in the center of a serving plate. Pour the sauce over the plate and serve. 


This post is linked at Cook and Celebrate: Chinese New Year 2016 hosted by Yen from GoodyFoodies, Diana from The Domestic Goddess Wannabe and Zoe from Bake for Happy Kids at here.

cook and celebrate cny2016